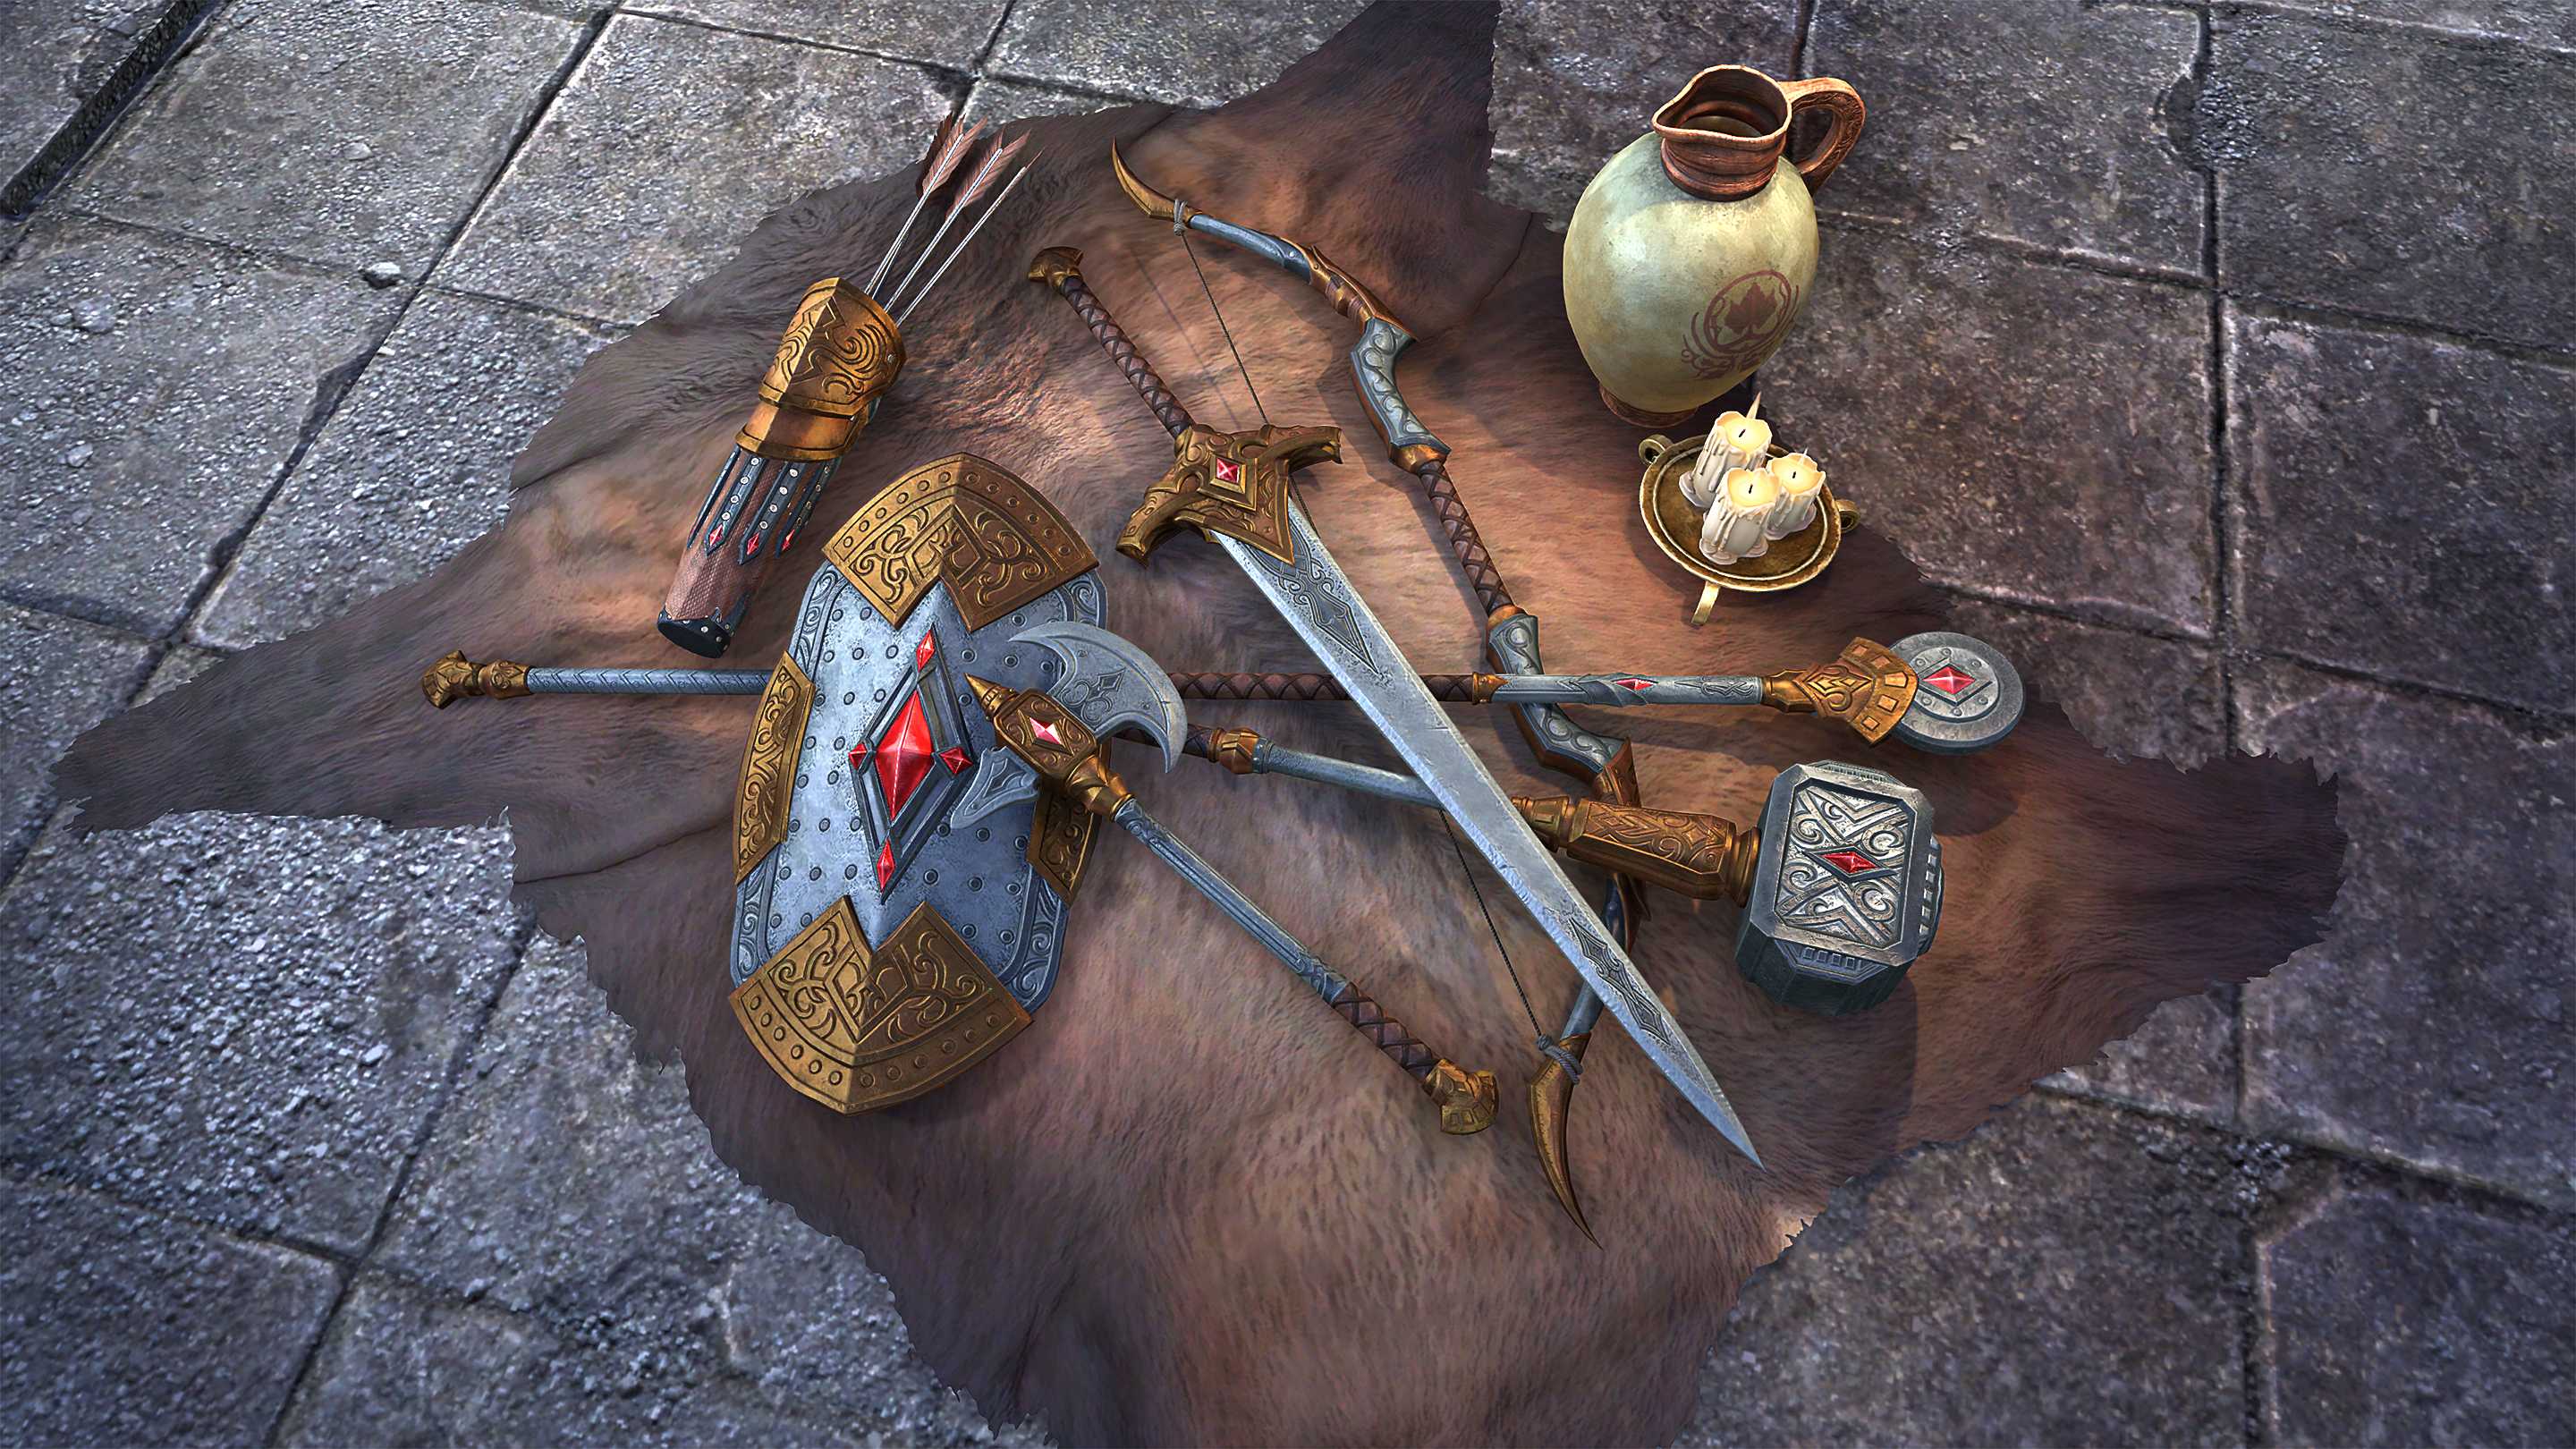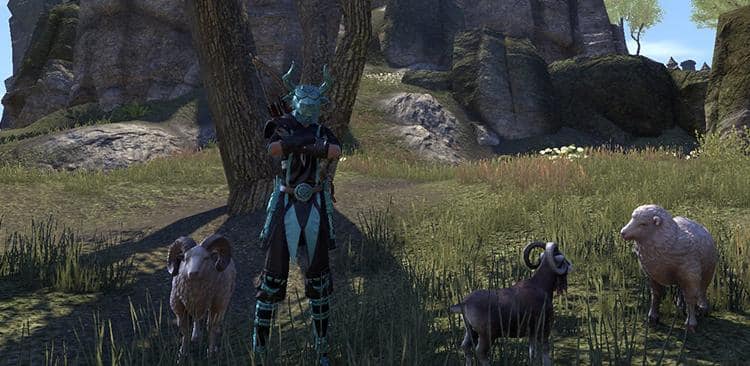
We are thrilled to bring you a new Battlemaster's Corner player-created build. This time, we have a slippery Stamina Sorcerer that'll have you rolling all around Cyrodiil. Read on to find out more about this new build from Kasa.
The Bullheaded Butcher – by Kasa
An original Stamina Sorcerer build aimed for PvP group play (Battlegrounds approved). Roll your enemies down like bowling pins while providing the necessary mobility for your group to get in and out of fights unscathed.
Adopted and raised by a pack of Minotaurs in the Gold Coast wilderness, this Imperial Stamina Sorcerer relies on the Morihaus set to stun packs of enemies and the Eternal Hunt set for damage while performing incredible feats of battle gymnastics.
With this build you can sustain your group in Cyrodiil, or get rid of the enemy pursuit in Battlegrounds Capture the Flag. It has great damage, incredible mobility, and strong defensive skills that can also deal damage. The possibilities are endless, and greatness is just one roll dodge away!
Armor and Weapons
When it comes to gear, I believe that style is a reflection of your attitude and personality, and what better way to strike fear in enemies' hearts than donning an imposing Minotaur helm!
While this build features the Eternal Hunt (crafted in Hew's Bane) and Hide of Morihaus (found on the Gold Coast) sets, multiple combinations of these two are available.
Ideally, this build wears five medium Eternal Hunt pieces on the body, with two Morihaus heavy pieces (Helmet and Chest) along with Morihaus jewelry, a Maelstrom (from Maelstrom Arena) or Master (from Dragonstar Arena) Sharpened Greatsword, and a Maelstrom or Master Defending bow. Most of your gear should have Max Stamina enchantments.
If you don't have Maelstrom or Master weapons, do not fret. You can easily swap out the second heavy Morihaus piece for a Tremorscale, Kra'gh or Blood Spawn light shoulder to take advantage of the Undaunted Mettle passive, and you can craft (or have a friend craft) a Two-Handed Sword and Bow of Eternal Hunt.
As long as you have both sets on, the configuration is up to you!
While the Morihaus Jewelry comes only in hearty, having a boost to your health is quite useful, as it serves to put you at around 23-24k health - just out of one-shot range. You also will be able to forgo tri-stat glyphs on your body pieces, which will help you save gold.
As for the Jewelry Enchantments, it is really up to you. One or two Stamina Regeneration enchantments, and one Damage enchantment can work well, depending on whether you lack sustain or not.
Attribute Points and Mundus Stones
Put all 64 attribute points into Stamina. For the Mundus Stone, use the Serpent for PVP. You'll need all the Stamina Regeneration you can get.
Champion Points
Put your Champion Points into the following:
The Thief tree
The Lover:
- Mooncalf 100 points - You will need the Stamina Regeneration!
- Tenacity 27 points - Restoring more Magicka and Stamina on light and heavy attacks.
The Shadow:
- Tumbling 57 points - Since your build relies on roll dodges, it's only fair that you have points invested in their cost reduction.
The Tower:
- Warlord 25 points - Reducing the cost of crowd control breaking, which can be prohibitively expensive even on Stamina builds.
The Mage tree
The Ritual:
- Mighty 75 points - Investing points into Physical damage beyond 75 seems useless given the diminishing returns.
The Apprentice:
- Blessed 33 points - Increases the amount of heals your Vigor and Rally skills give you.
The Atronach:
- Master-at-Arms 22 points - Increases direct damage done. More Wrecking Blows, more fun.
- Shattering Blows 25 points - Increases the damage done by players with shields. Works on 80% of the Cyrodiil population, what with them being Magicka Sorcerers, light armor Templars with shields, or Dragonknights with Obsidian Shields.
The Warrior tree
The Lady:
- Hardy 56 points – Reduces Poison, Disease, and Physical Damage.
- Elemental Defender 43 points – Reduces Flame, Frost, Shock, and Magic Damage.
- Thick Skinned – Reduces damage over time and gets us to 122 points in the Lady tree and unlocks the Unchained passive - don't forget to Shuffle or Vigor yourself after breaking crowd controls; the skill will be practically free.
The Steed:
- Resistant 37 points – To add to overall critical resistance .
- Ironclad 51 points – To reduce durations of crowd control effects.
Primary Bar Ability
Two-Handed Sword:
While Critical Surge performs exceedingly well in PVP, you'll still want the heal from Rally, especially if you haven't unlocked Vigor. It is also the only weapon that comes with an execute ability, and since you're built for mobility rather than long battles of attrition, you'll want that extra burst damage to quickly end fights.
- Critical Charge - Since most of your fighting will be done in melee range, you'll find that a gap closer is quite a useful skill to have.
- Rally - Make sure to keep up the buff 100% of the time, even out of combat, and use the ability again to heal when appropriate. You never know when there are gankers around, and having a Rally heal available right after breaking crowd control can make the difference between life and death.
- Dizzying Swing - The changes brought about with ESO: Morrowind made medium armor two-handed builds viable again, and so Dizzying Swing is back! Since you have your Morihaus set to stun the enemies when necessary, either morph of Uppercut is appropriate. Personally, I prefer using Dizzying Swing to stun and keeping the roll dodge up for a more defensive situation.
- Reverse Slice - Execute ability. Executioner performs better in duels, but since you aim for group combat and are more likely to be facing multiple enemies, the splash damage from Reverse Slice is a better choice.
- Bound Armaments - Enjoy your increased max stamina and the 20% Stamina Regeneration that comes with the Daedric Summoning passives.
- Ultimate ability: Flawless Dawnbreaker – A low-cost ultimate that is best used on a stunned target along with an execute to guarantee a kill. Or on a group push for the area of effect damage. Note that the AoE is in a cone, so make sure to aim in the direction of your enemies.
Secondary Bar Abilities
Bow:
The Major Expedition buff granted by the Bow passives right after a roll dodge pairs well with the Minor Expedition buff that you get from your Sorcerer abilities and makes sure you're the fastest person on the battlefield.
- Resolving Vigor – A second heal to complement rally. Use carefully following the increased cost brought about with the ESO: Morrowind update.
- Dark Deal - Best skill for sustain seen so far in the game. A must-have with the ESO: Morrowind update and the sustain changes.
- Hurricane - Armor buff and 10% more speed for the duration, as well as impressive visual and audio effects. What's not to like?
- Shuffle - You'll still want an increased dodge chance, even after the Shuffle nerf. Additionally, use it to purge yourself of any snares like Caltrops, Vampire's Bane, Encase, or Low Slash, and make your escape that much faster.
- Bound Armaments – This one is double-slotted since it is a toggle.
- Ultimate ability: Energy Overload (either morphs) - This skill brings us to another great thing that the sorcerer class has apart from Dark Deal - a third ability bar!
Bonus Third Ability Bar!
When in Overload mode, you'll want to slot skills that you do not use as frequently as those on your main bar, but that still can prove useful in combat situations.
- Razor Caltrops - For the snare and AOE damage (to use when fighting in and against groups in Cyrodiil).
- Defensive Rune - For the protection against gankers while riding or AFKing or generally being out of combat yet still in a PVP zone.
- Streak - For the mobility and defensive stun. (You don't need Streak on main bar since you're using Morihaus for the defensive stun already, but Streak is still a nice skill that can find its way on your bars and into your heart).
- Bound Armaments - Being a toggle skill that you will need to slot on your third ability bar too.
- Rearming Trap - A great skill for Battlegrounds or small-scale fights. Most of the Cyrodiil population being a vampire, you'll find that the damage done by this ability is pretty great. The Critical Damage buff is also quite welcome. (Tip: Place a Rearming Trap on the way to and from your flag during a Capture the Flag BG match, or on the flag during a Domination match. It's worth it.)
If you happen to play in large organized groups in Cyrodiil, you'll find that a Suppression Field (Negate) can be a better choice than Overload or Dawnbreaker, assuming your group members can time their ultimates to match yours.
Combat Strategy and Rotation
The combat strategy is quite situational. I believe that knowing your class, knowing the mechanics, and learning to manage your resources properly will allow you to adjust to any situation you'll find yourself in.
Alliance War
Assuming your group isn't big enough to qualify as a raid, buff up with Shuffle, Rally, and Hurricane before the fight begins. Then, designate an enemy to focus down, Critical Rush on him, stun with either a Roll Dodge or a Dizzying Swing, weave Dizzying Swing with light and heavy attacks when needed, and execute when he's at 25% HP or less. Move on to the next enemy, rinse, repeat.
When you are on the defensive and fleeing, try to stay among the last group members to help them out and roll through enemies to stun them and give a few seconds of respite to your group. You'll be able to catch up to your teammates either way with Dark Deal, Streak, Hurricane and sprinting.
In an organized raid groups, make sure to have Retreating Maneuver on your bar, and spam it when retreating from combat. On the group push, you ought to be at the front lines. Your glorious figure glowing with righteous justice and gusts of wind from the hurricane ought to dive into the enemy hordes and stun them while your raid takes advantage of their confusion to rain fiery death upon them in the form of Destruction Staff ultimates.
Battlegrounds
This build really shines on Capture the Flag maps. Make sure to be the one to actually capture the relic, and roll through the pursuing enemies on your way to victory.
For Domination, your incredible speed will make you the MVP when it comes to flipping flags and escaping with your life to turn the flags some more.
As for Deathmatch, apply the aforementioned small-scale strategy as for Cyrodiil and the same escape tactic. There are plenty of line-of-sight breaking rocks, columns, and other items for you to Dark Deal your way back to full health and stamina.
However, as I said previously, the most important thing is to understand your class and the way this game works. Once you get that part down, you'll be able to play successfully with any kind of set and skills.
And, finally, don't forget, the most important thing is to have fun! Good luck and see you in PVP!
New Builds Welcome!
Thank you Kasa for the build – it's certainly a unique one! If you have a new build you'd like to share with the community, please submit it via our official form here. All are welcome!
