


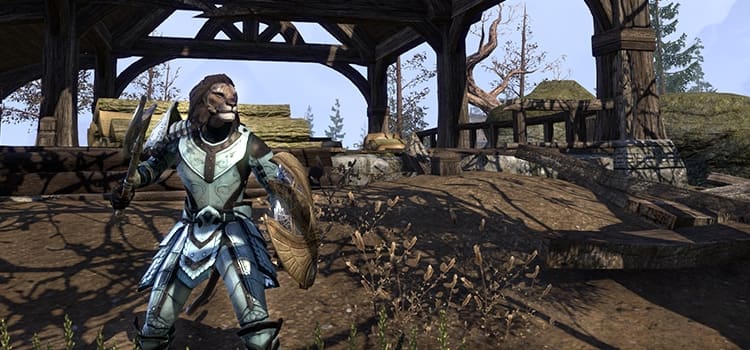
Our latest featured ESOTU player build is The Warded Guardian, a Magicka-based Sorcerer tank build that has it all—great ability synergy, versatility, and the survivability you'd expect in a robust tank. Focusing on Magicka, this build is self-sustaining, capable of DPSing with a few simple ability swaps, and always ready for end-game action!
Welcome back to the Battlemaster's Corner, where we feature character builds created by you, the ESOTU community! In this article you'll meet The Warded Guardian, a Sorcerer tank build that offers a perfect mix of versatility, survivability, and efficiency. If you're looking for a new tank build for your Sorcerer, give The Warded Guardian a spin!
We're on the lookout for more clever and inventive character builds, especially after the release of the Imperial City update. Show us your very best combination of abilities and equipment! If you have a character build you'd like to see in a future Battlemaster's Corner, please send it to us at community@elderscrollsonline.com. Don't forget to include a handful of high-quality screenshots of your character for us to choose from!
THE WARDED GUARDIAN
Meet The Warded Guardian, a Magicka-based Sorcerer tank. Magicka-based Sorcerers are known for being very flexible, and this build is no exception. As a tank, your goal should always be to become completely self-sufficient and “retire the healer as a DPS." If you like the sound of a tank like that—one that is end-game ready, consider The Warded Guardian.
What makes this build awesome is that at any stage you can switch to an end-game Magicka DPS and be PvP- or PvE-ready with some simple skill and gear changes.
PRIMARY BAR: SWORD AND SHIELD
Your primary ability bar is for most of your tanking needs. It's well balanced and gives lots of sweet synergies you'll want to experiment with on your own. You will want your combined shield strength to exceed 30k and your Health to be at around 25k, making it up to about 50-60k across your Health bar. You'll likely be tempted to get your maximum Health higher than this. Unless you're able to do so with Champion Points or sacrificing maximum Stamina, don't do it. Sorcerers don't naturally self-heal, so why risk losing Health with weaker shields?
Slot 1: Puncture (Pierce Armor) – This ability is great for the group DPS boost, and makes things easier on your Magicka usage. Use a Heavy Attack just before Pierce Armor if you've been blocking a lot.
Slot 2: Entropy (Structured Entropy) – Make this your flex spot, but remember that Structured Entropy should be your #1 choice. You can swap this ability for Crystal Shards if you want.
Slot 3: Bound Armor (Bound Aegis) – Don't leave home without it!
Slot 4: Conjured Ward (Hardened Ward) – This ability grants most of your damage reduction. Always refresh this ability first and keep it full as much as you can since it takes Physical and Spell damage to deplete it.
Slot 5: Annulment (Harness Magicka) – This ability becomes virtually free when you have upwards of 30K Magicka, and it restores Magicka, too. Win-win!
Ultimate*: Meteor (Ice Comet) – This Ultimate grants 2% maximum Magicka and Magicka regeneration. When you use it, first hit Structured Entropy—this will grant you Major Sorcery and Empower for a devastating, hard-hitting Ultimate.
*You can also slot Barrier or the Werewolf Transformation Ultimates, depending on your situation and need.
SECONDARY BAR: SWORD AND SHIELD OR LIGHTNING DESTRUCTION STAFF
There are no pets in this build, but tanking with pets is definitely encouraged at lower levels. Restoring Twilight is a very strong skill I'd love to be able to use, but not one I'd sacrifice two ability slots for at max level. I'm also not a vampire: Flaky skin is gross! Why anyone would want to intentionally put themselves at the whim of skincare sales people is beyond me. ;) Although it would be very strong, it doesn't fit my idea of a cuddly warrior Khajiit. Of course, I'm not a min-maxer—I take the abilities I enjoy most.
Slot 1: Inner Fire – There's no need to morph this ability. It's only for when you have no Stamina left, or are in a situation where you need the taunt.
Slot 2a: Encase (Restraining Prison) – Use in a corridor or other tight quarters for maximum effectiveness.
Slot 2b: Low Slash (Deep Slash) – This ability reduces the damage your shields take by 15%. It's especially helpful when boss monsters are trying to mess with your group, despite your taunt.
Slot 2c: Lightning Form (Boundless Storm) – This ability is amazing for dungeon grinding! It packs a nice little bit of close-range DPS, pulls adds off your group while it's running, and most importantly is a Magicka-based Major Expedition buff! Just be aware: This is not a skill you want to use for tanking.
Slot 3: Bound Armor (Bound Aegis) – Again, this ability is a must. Really.
Slot 4: Conjured Ward (Hardened Ward) – No wards, no heals and no DPS really hurts a Sorcerer's usefulness. I've tried ditching this from this bar, time and time again. Don't do it!
Slot 5a: Evasion (Elude) – You won't be able to get enough of this ability. Unless you're getting one-shot, this is a 20% damage reduction to your shields and Health. Choose this ability over Deep Slash if needed.
Slot 5b: Impulse (Pulsar) – This ability provides an area-of-effect Minor Maim debuff and decent DPS! Use this with a Lightning Destruction Staff and Restraining Prison—your group will love you for it. You also want this morph because damage dealers tend to use Elemental Ring and the two abilities work well together.
Ultimate: Werewolf Transformation – Use the Werewolf Transformation Ultimate for the Stamina regen. Otherwise, you can swap it out for Energy Overload to help burn down boss monsters and adds if you don't slot Pulsar.
COMBAT IN-DEPTH
Serious face: Let me quickly explain some things. Damage goes in this direction: Debuffs*Damage Reduction*Mitigation*Evade > Shields > Armor (hard-capped at 50%)*Block > Health. If you're shield stacking, 8% more mitigation to 25k in Health isn't going to be nearly as useful as 15% more mitigation to 55k in Health and shields combined. This is why I say Boundless Storm is not a skill for tanking (not that armor isn't important.) This mitigation is also why I'd choose a Nord as my preferred race, not to mention the 9% max Health and extra Health Regen it grants to a class that doesn't naturally self-heal.
You'll be spamming Hardened Ward and Harness Magicka a lot since this is an active mitigation build. You'll be able to mitigate more effectively than I have seen most others, but it requires a high level of player skill and awareness. I highly suggest using an addon like GGframes or FTC to get used to shield tracking—you'll need to be able to quickly recognize which shield needs replacing and refreshing. You'll also need good resource management, understanding of boss mechanics, group tracking, decent tanking combat skills, and your ability rotations.
Damage received in dungeon boss rooms is primarily lots of heavy spell damage, and a bit of really annoying physical damage—there's usually at least one crowd control element, too. You must be able to recognize what the boss will use next and know how to respond. Here are some tips:
- Physical Damage: You must counter this type of damage with a block-casted Hardened Ward before and after impact, or roll dodge.
- Spell Damage: You can often brush off this type of damage by cycling Hardened Ward and Harness Magicka. Don't block unless you see the boss charging up an attack—or roll dodge!
Always put Hardened Ward up first—the first shield placed will always be removed first. This way, you know which will need to be replaced first. Also you'll always know that Hardened Ward will be the next shield you need to be replaced after being hit with a big swing. This increases that skill's uptime at 100% shield strength. It's also best for Harness Magicka to take bits of damage instead of bursts—this allows you to have optimum Magicka Restoration.
Note that your resources are really well balanced with this build, so you have the choice of using either your Magicka, Stamina, or both to tank. If you somehow run out of both, you can still take from the little bit of both you have until the Engine's Guardian set procs or until your potion comes off cool down. Stacks of research and trial-and-error failing have gone into creating this build. If you have questions about any of the mechanics that makes it so extremely capable, or even why I'm not using other sets or skills, feel free to message me @Zlater in-game. I'm always happy to help and love explaining these things in detail.
RACIAL CHOICE
High Elf, Breton, or Wood Elf are the ideal race choices, but I personally play this build as a Khajiit so really any will do. Truthfully, tanking is usually only as competitive as pass or fail, and everyone has to fail at some stage, so don't get too hung up on racial choices. There are lots of ways for countering differences in racial passives.
ATTRIBUTES, CHAMPION, & MUNDUS
Attributes
You want to aim for at least 30K Magicka, and 25K Health. I prefer to get most of my Health from armor enchants so I can swap gear and kill things.
Champion Points
The Mage – Place your points into The Mage constellations based on your personal DPS choice requirements. I put most points into Elemental Expert (The Atronach), which also helps strengthen your Ice Comet Ultimate. The Atronach has some nice passives, and Thaumaturge (in The Ritual) works well with Crystal Shards and many weapons enchants, too.
The Thief – Split your points between the Magician (The Tower) and Arcanist (The Lover) passives as a primary focus, with some points also going into Mooncalf and Tenacity (both in The Lover.) There isn't much in the Thief that you won't find helpful.
The Warrior – Focus on stacking points into the Bastion (The Lord) passive first. Also be sure to grab a couple of the 1% bonuses while you're there. Take it to about 75 Champion Points, then move to The Lady and split any excess between the Elemental Defender and Hardy passives. Both will reduce the damage your shields take from their respective damage types. It's like armor for your shields!
Mundus
The Mage – This is important for boosting your maximum Magicka!
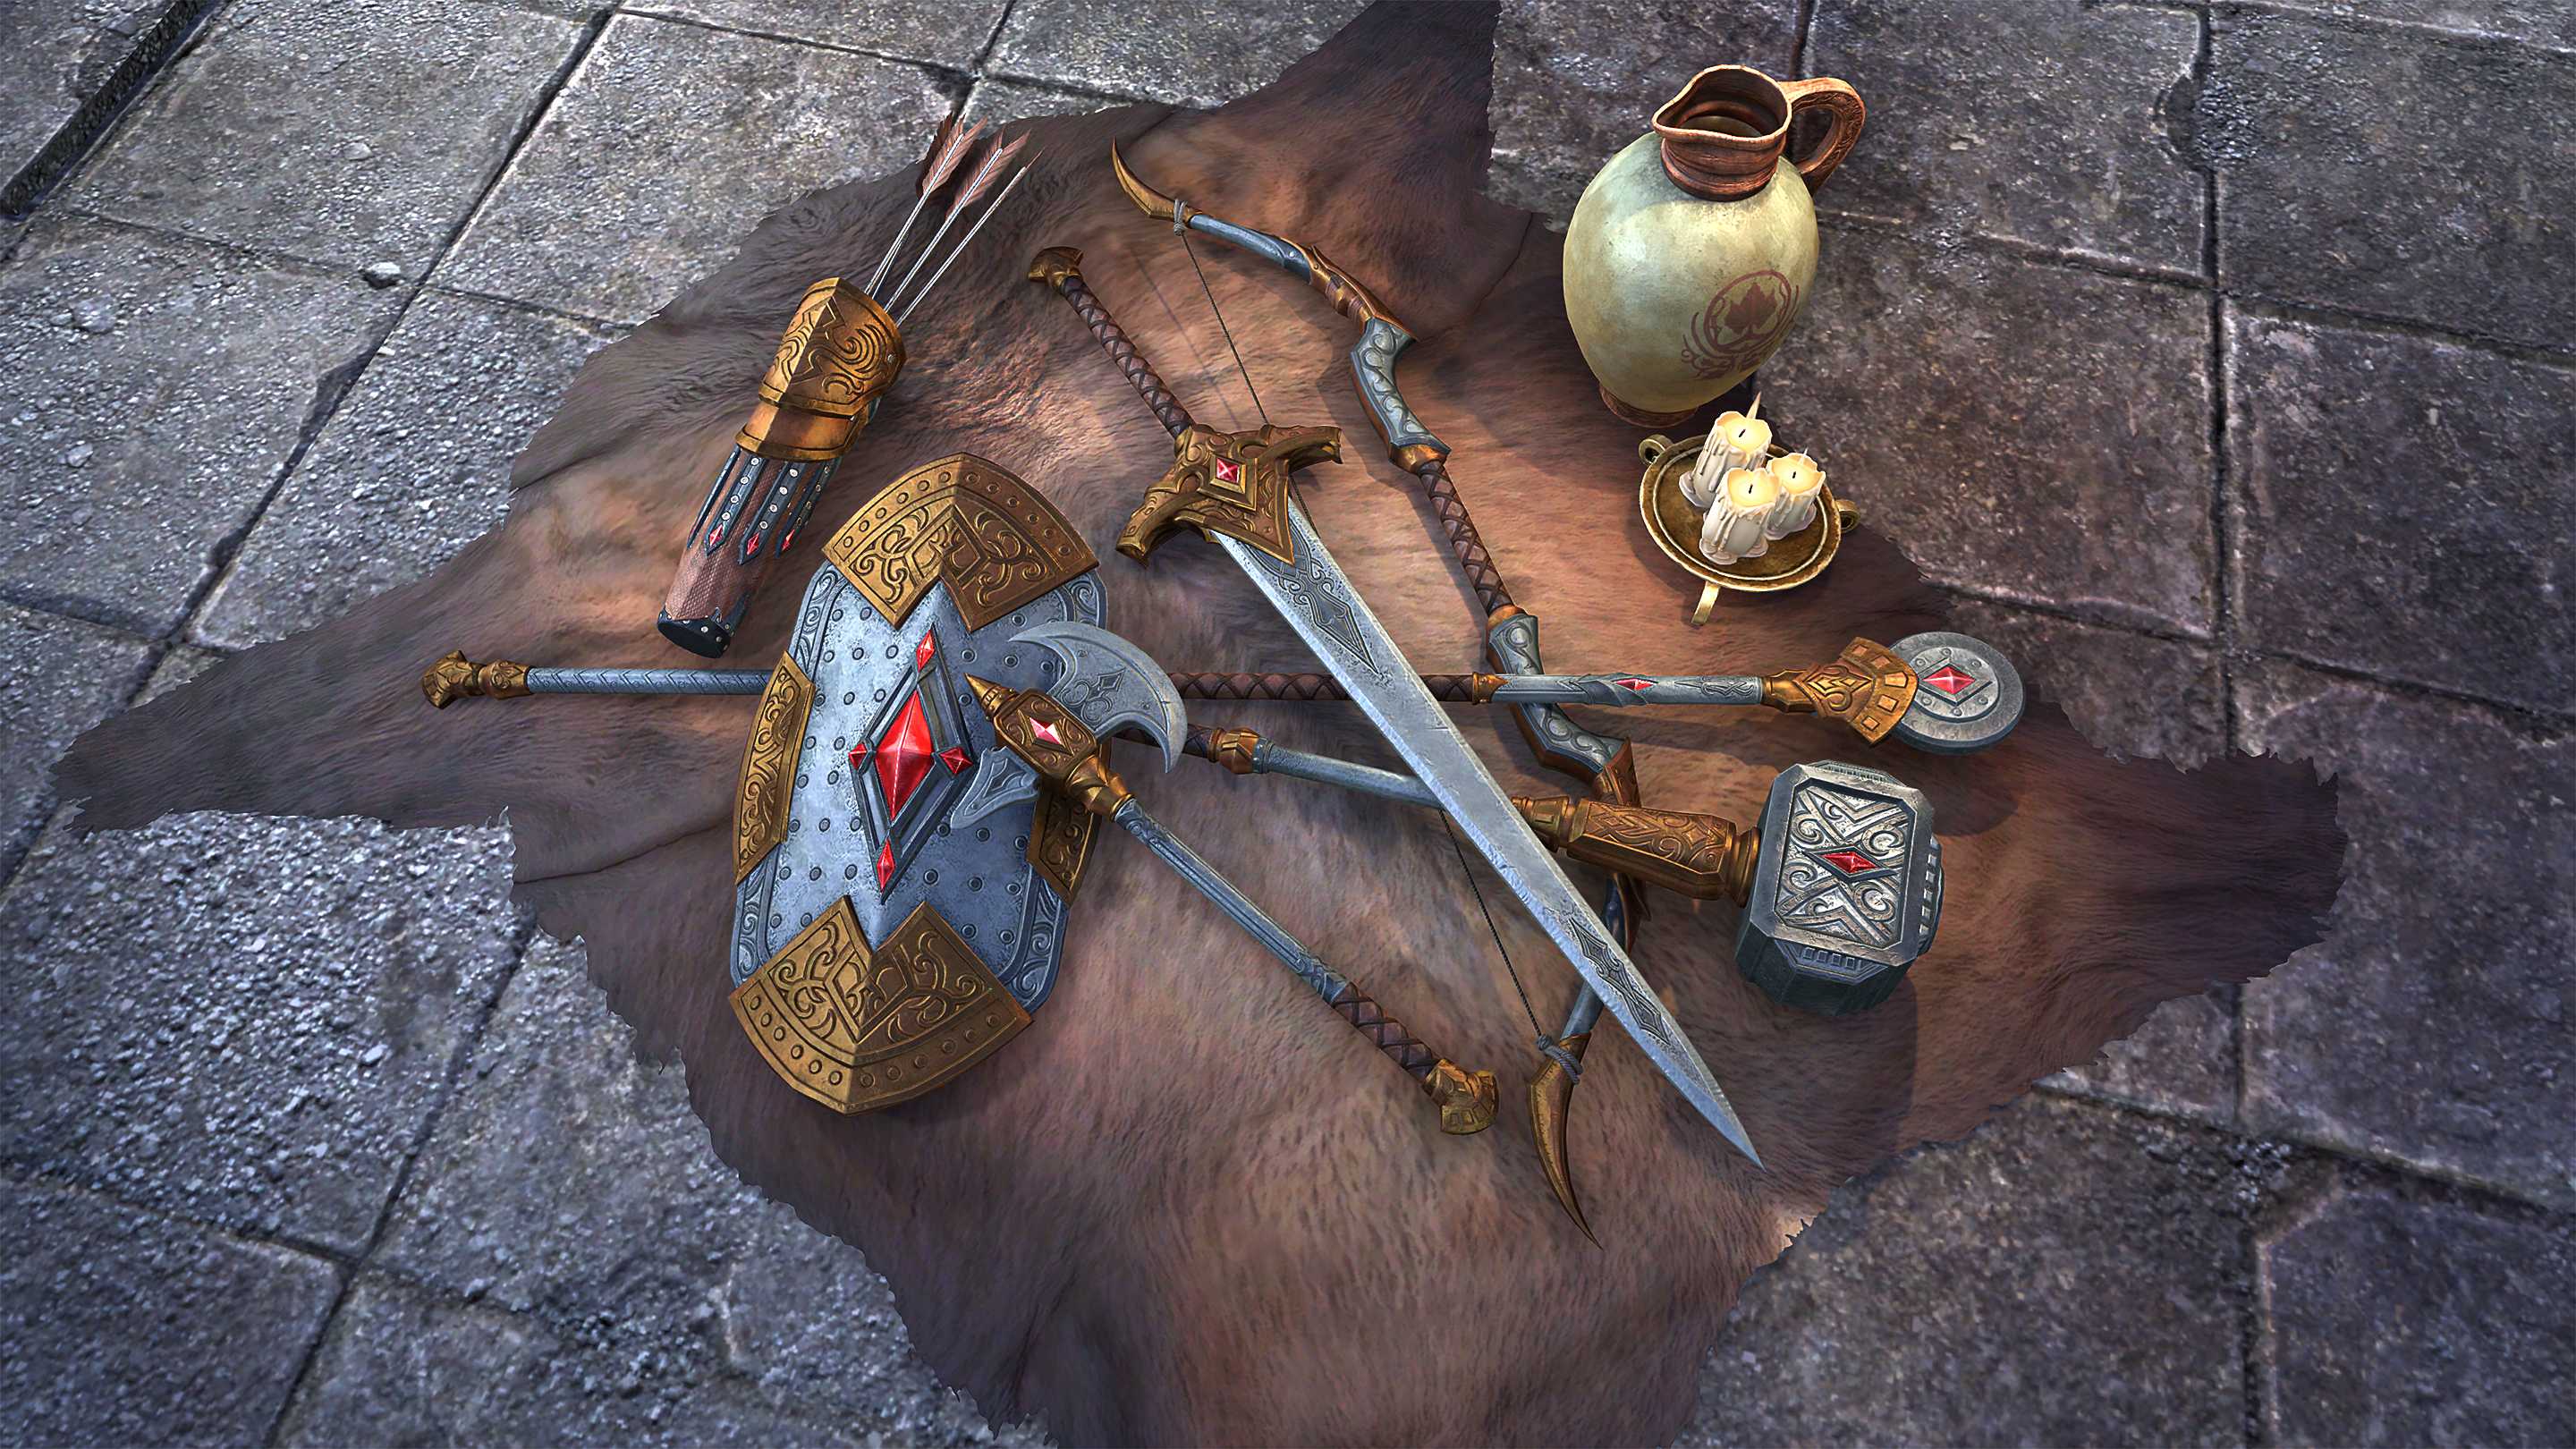
ARMOR
This is where you start to break the traditional tanking mold. You must have five pieces of heavy armor—adjust depending on what Engine Guardian set pieces you have, but ideally you'll have a Light Armor belt and Medium Armor gloves. I'm going to focus on end-game in my armor choice explanation, but this build is strong from level 10 onward with some minor adjustments.
- You want 5 pieces from the Armor of the Seducer set. You can use the Divines or Infused Traits, depending on how many Champion Points you have and the level of your gear and enchantments.
- 2 pieces of the Engine Guardian set
- 3 Endurance jewelry set pieces (necklace and rings) – reenchant to 1 Stamina regen, and 2 Reduced Spell Cost. Try to get Arcane or Healthy Traits on these if you can.
- 2 Willpower Sword and Shield sets. I use Willpower because they're cheap as chips at VR16, and they fit my requirements almost perfectly. Try to ensure that the sword has the Defending Trait, and shield is Max Magicka with the Infused or Reinforced Trait. Weapon swapping causes the shield enchantment and set bonus to reset, which is why I don't enchant for Health.
- Willow's Path is a good replacement for the Seducer set—it comes at a Champion Point requirement, though. This also depends on your character's race, and how many of which points from The Thief you've invested in. As reduced cost percentage elsewhere increases, the effect of this five-piece bonus decreases. This results in an increase to the effectiveness of the Willow's Patch set with increased regeneration from other sources. However, it does come at a slight Magicka reduction.
- The Armor Master set can make you very strong without having to reduce your shields, but you'll be wanting for resources. Using this set requires a bit of group support and lots of Magicka regeneration passives through Skill Lines such as Vampirism and Support in order to keep your Magicka up.
- It's also recommended that you keep a Lightning Destruction Staff and Restoration Staff handy so you can swap them out when needed.
I want to say thanks, especially to my guildies at www.redfurconnect.com and my friends for their patience with me as I secretly test builds and ideas during boss encounters. I love you and “tankyou."

