


Our latest featured ESOTU player build is the Howling Temple, a fearless Templar damage-dealer that is capable of high Stamina regeneration and both single-target and area-of-effect DPS output. This build also provides added utility and group support with a few smart ability choices on the secondary bar.
Welcome back to the Battlemaster's Corner, where we feature character builds created by you, the ESOTU community! In this article, you'll meet the Howling Temple. Armed with the ability to dish out high single-target and area-of-effect damage, both in close quarters and at range, this Templar build is as versatile as it is formidable. Every ability choice has been carefully considered, making for a truly synergistic combination of Stamina regeneration, weapon damage boosts, and overall sustainability. If you're looking for a well-rounded new DPS build for your Templar, give the Howling Temple a try!
We always enjoy receiving your character builds and seeing all the creative ways you combine abilities and equipment. If you have a character build you'd like to see in a future Battlemaster's Corner, please it to us at community@elderscrollsonline.com. Don't forget to include a handful of high-quality screenshots of your character for us to choose from!
THE HOWLING TEMPLE
A wolf forged from blood and stone.
Forged in the darkest parts of Cyrodiil, raised by wolves, the Howling Temple was born. With a blade forged from blood and a bow carved from the intensity of combat, the Howling Temple fights a worthy battle. Armed with the spirit and ferocity of the wolf, this Templar takes advantage of his pack to become a rampaging killing machine. First to follow, first to fight: the Howling Temple is the bane of many.
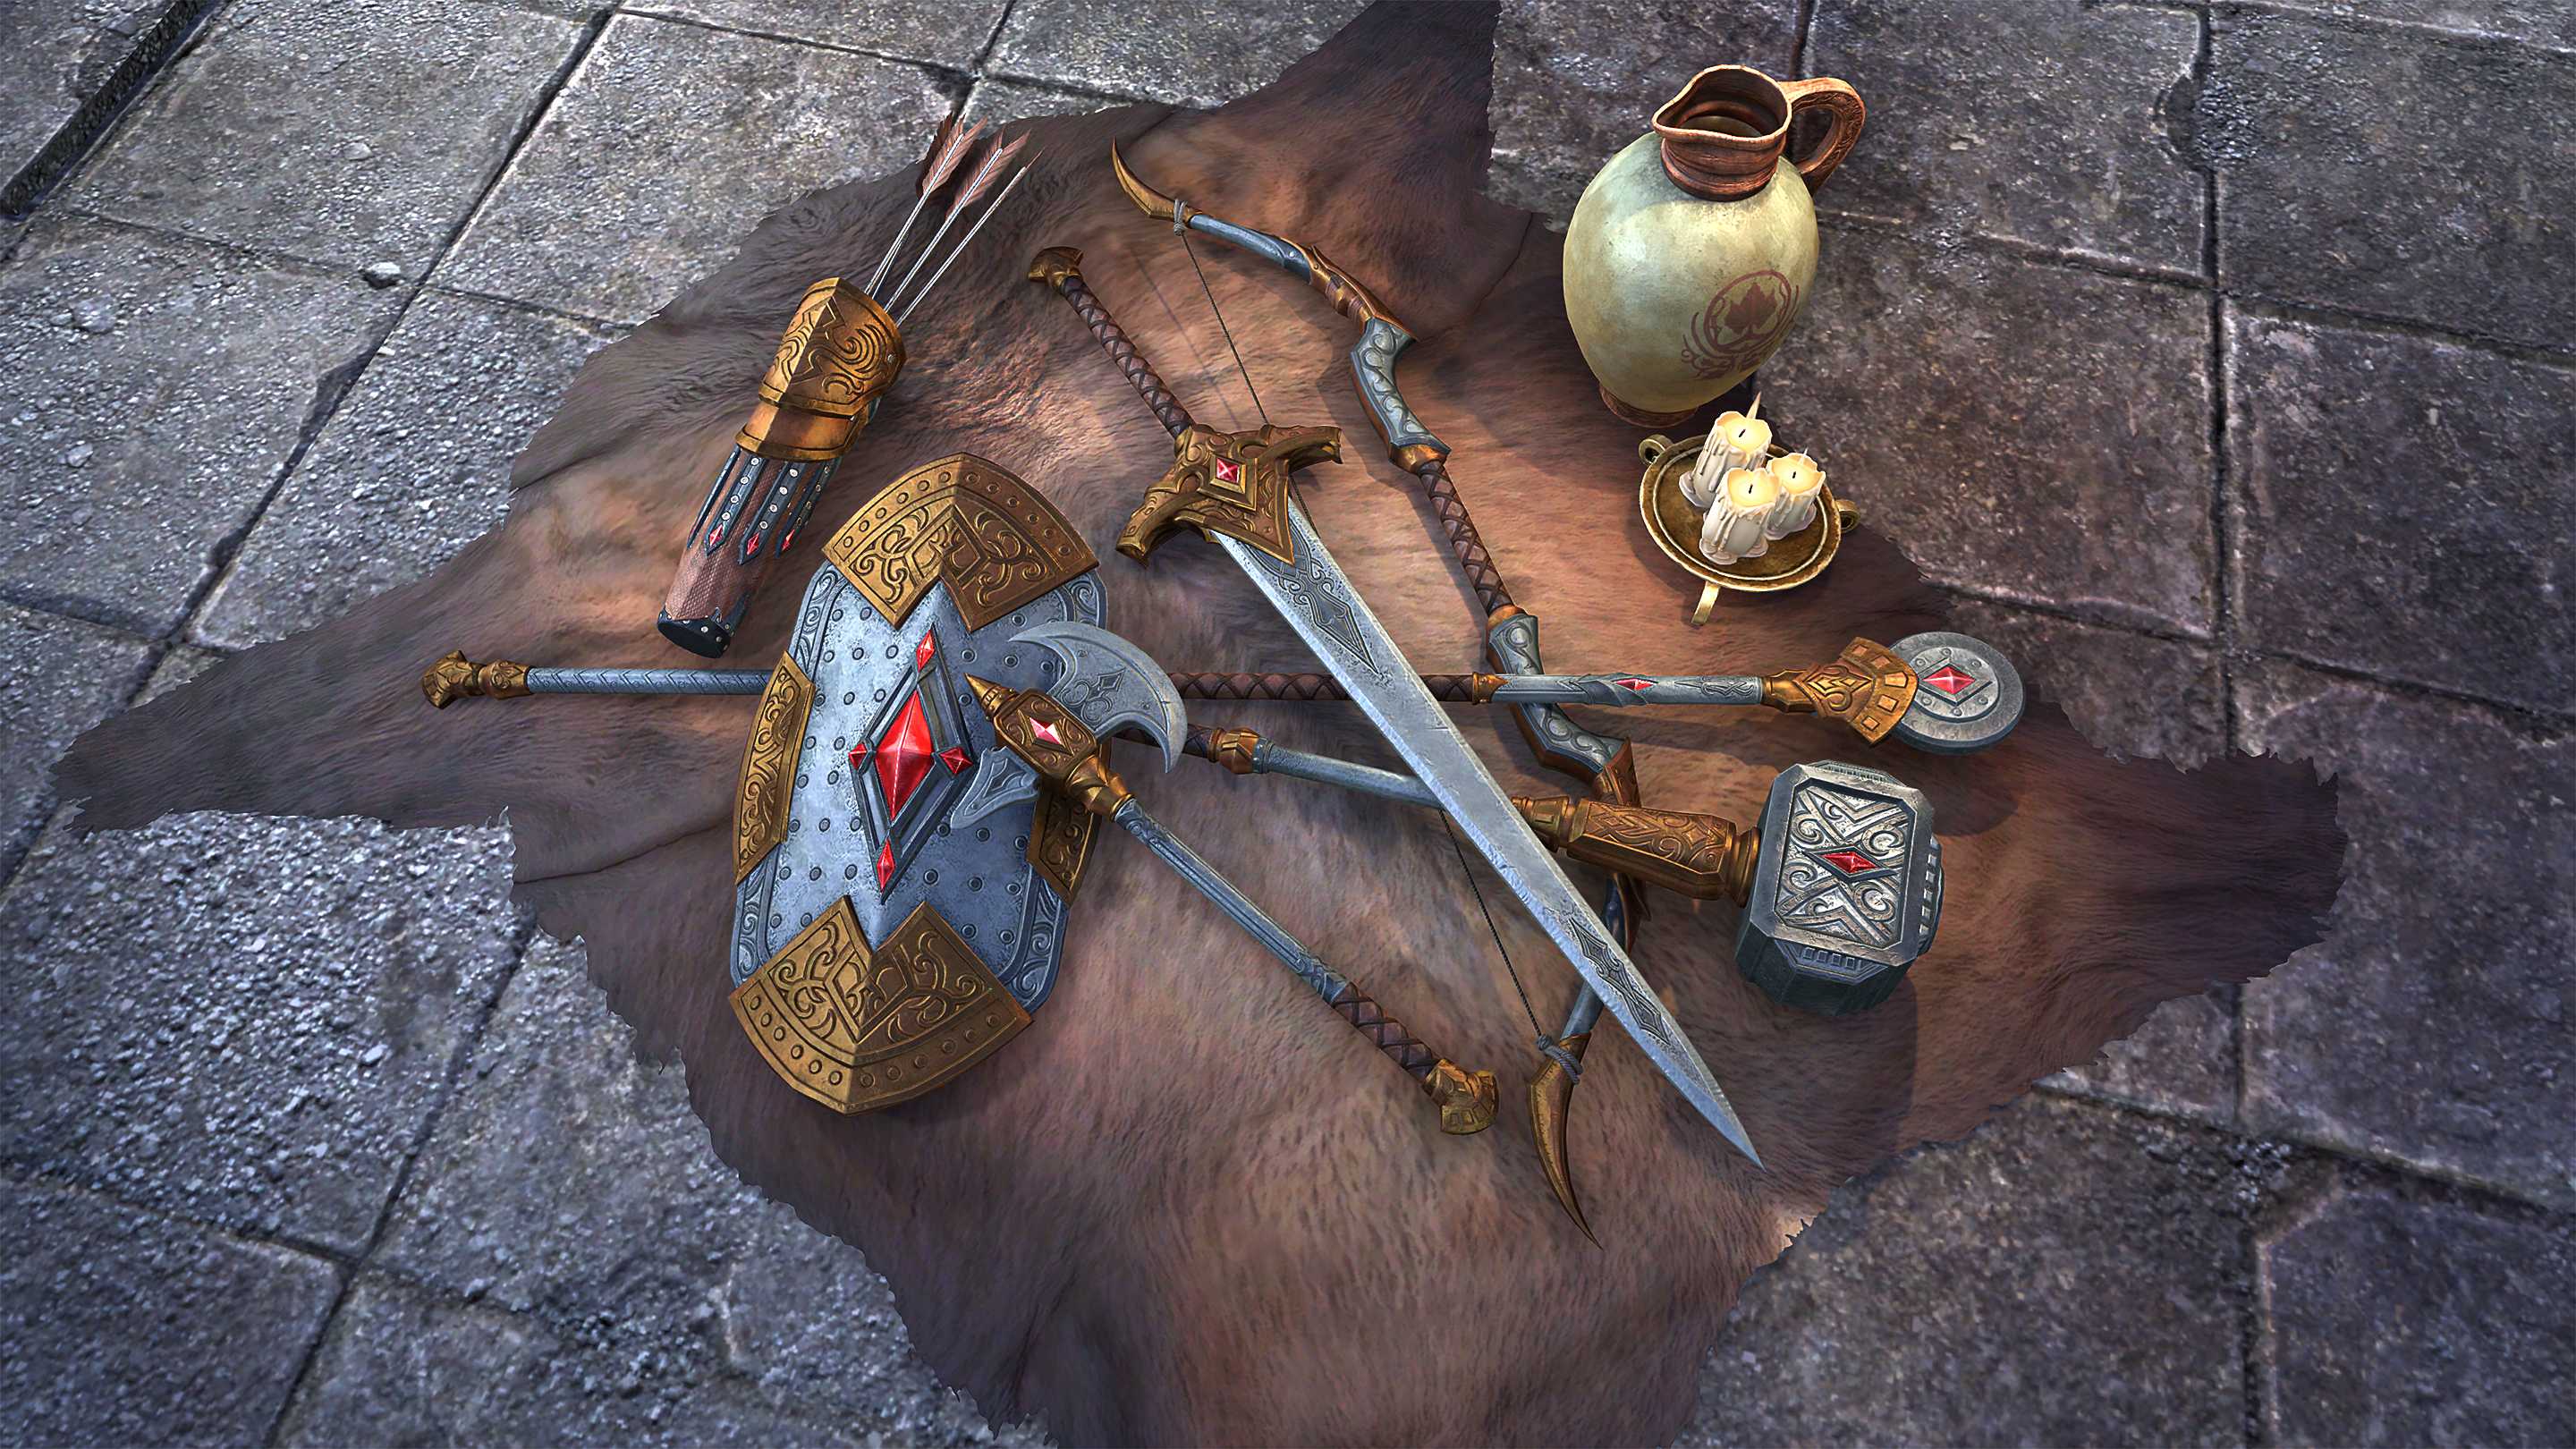
The Howling Temple utilizes a Stamina-based DPS system, using a great sword and a bow to deal massive damage. This is a self-sustaining Stamina build, meaning if your healing setup does not contain Luminous Shards or Repentance you can shamelessly sap Stamina from your fallen foes. You can also use werewolf for an extra boost to Stamina regen, and occasionally “Wolf Up" for extra damage, armor, and Health. For race choice, Imperial is good because of the Conditioning, Tough, and Red Diamond racial passives. Other races that would work well are Redguard, Nord, and Khajiit.
PRIMARY BAR: THE WRECKING BLOW (TWO-HANDED)
Momentum (Rally) – Rally is a great skill for dealing damage. Combined with Reverse Slash's Executioner morph, it becomes even more powerful. Besides the extra 20% weapon damage it provides, it's also a very good self-heal when in tight situations.
Cleave (Brawler) – Brawler is a necessity if you want a successful two-handed DPS build. This skill is very useful for multi-target DPS—not only can it hit more than one target, but if you hit several targets at once you can get a substantial damage shield. If used when you are against all odds in a dungeon, it can be the difference between life and death—it'll allow you to get you back into your healer's range and turn the tide of any battle.
Puncturing Strikes (Biting Jabs) – Biting Jabs is a Stamina morph for Puncturing Strikes, meaning you no longer need to have Magicka in order to frequently use it. Sure, it doesn't heal like its other Puncturing Strikes morph counterpart, but that's why you have self-heals like Rally to back you up. Biting Jabs is also really good for a fast and heavy multi-target damage against small groups.
Critical Charge (Critical Rush) – Critical Rush is a great gap closer. If you need to quickly move from your current location to help a healer who is being set upon by enemies, this is the skill for the job. Besides fast gap closer, it also deals damage based on the distance. Using this ability followed up by a Reverse Slash is a deadly combo. It's also handy for quickly traveling through a boss's AoE to reach a safer attack position.
Reverse Slash (Executioner) – Between the two Reverse Slash morphs, Executioner is a bit more useful for this build because attacks like Critical Rush and Brawler do 15% more damage to targets under 25% Health. Combine this with Rally and Flawless Dawnbreaker, and you have yourself a damage-dealing machine.
Ultimate – Dawnbreaker (Flawless Dawnbreaker) – Flawless Dawnbreaker provides two valuable things that further boost your damage output: an area-of-effect that deals 60% increased damage against Daedra and Undead, and a passive that grants 8% more weapon damage.
SECONDARY BAR: THE RANGED LIGHT (BOW)
Snipe (Lethal Arrow) – Lethal Arrow deals a great amount of damage—when you add in the poison damage and Major Defile it further increases this ability's effectiveness. Not only are you dealing damage, but you're also applying a poison effect to your enemy that decreases their healing taken. This can give you the upper hand in battle.
Arrow Spray (Acid Spray) – Acid Spray provides you a conical area-of-effect ability for your bow, helping you take down multiple targets at once while also inflicting damage-over-time. The movement speed debuff is nice as well—it keeps enemies from getting too close.
Poison Arrow (Venom Arrow) – Venom Arrow and Poison Injection are easily interchangeable here. Of the two, Venom Arrow has proven more effective to keep ranged enemies from dealing damage because it allows for spell interruption, and a more mobile playstyle.
Bone Shield (Spiked Bone Shield) – If enemies do happen to get to close, Spiked Bone Shield is a good damage shield. It's also a great support ability to toss on your friends in some of the more dangerous places such as dungeons or Craglorn. It's awesome to have a tank that synergizes for an extra damage shield and can stay up that much longer without having to receive healing.
Restoring Aura (Repentance) – Besides the minor buff to Health, Stamina, and Magicka this ability grants you and your allies, Repentance can play a big role in sustaining your Stamina in battle. If you have a healer that either doesn't have or use Repentance or your healer is not a Templar with Luminous Shards and Repentance, having it yourself is a necessity. If you're fighting a boss that spawns adds and you're actively protecting the healer but exhausting your Stamina at the same time (such as fighting the Bull Netch boss in Darkshade), what are you going to do for your attacks? Well, if you use Repentance you can gain Stamina back for the adds you just killed. Replacing Repentance with Rushed Ceremony (Breath of Life) is also a great option.
Ultimate – Rite Of Passage (Practiced Incantation) – The primary reason to slot this Ultimate is as a failsafe if your healer goes down, or you get separated from your healer and need to heal your DPS and tank through a high-damage attack. You can also slot the Werewolf Transformation Ultimate (Werewolf Berserker) on this Bar.
ARMOR, GLYPHS, TRAITS, AND MORE
Attribute Points – 20 points in Health and the rest in Stamina
Armor – A full set of medium armor with a 5 pieces of Hunding's Rage, and 2 pieces of Night's Silence, for Stamina, Stamina Regen, Weapon Damage, and critical hits. For Traits, put Divines on two pieces, and Infused on the rest.
Weapons – The Night's Silence set greatsword and a bow, both with the Infused Trait.
Armor Enchantment Glyphs – 5 Glyphs of Stamina and 2 Glyphs of Health
Weapon Enchantment Glyphs – Use a Glyph of Absorb Health on your two-handed weapon, and a Glyph of Absorb Stamina on your bow. Both provide increased survivability and sustainability.
Mundus Stone – The Thief is a great choice, but The Warrior or The Tower work well, too.

