

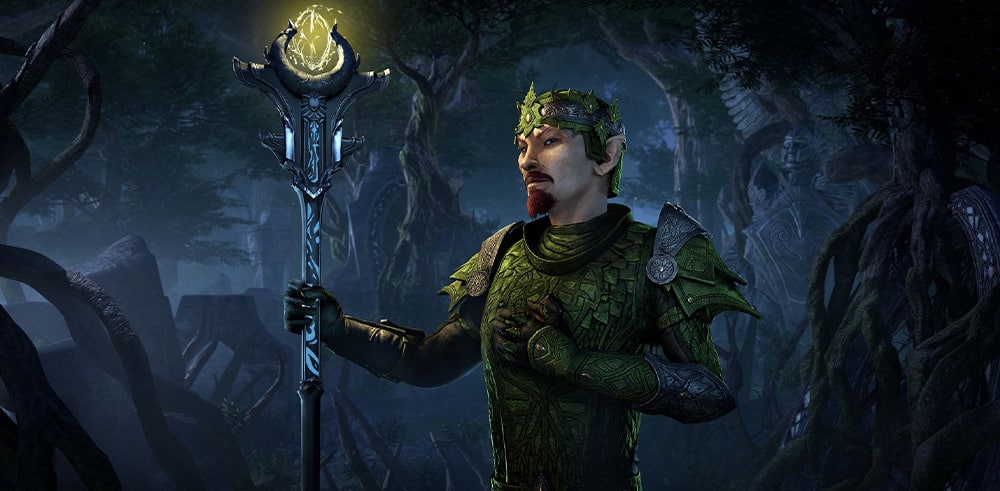


Our latest featured ESOTU player build is the Bloodleach Slayer, a sturdy Nightblade tank that you'll want leading the charge. It boasts sustainable survivability through a slew of life-tapping abilities, high combat health recovery, and moderate damage output capabilities.
Welcome back to the Battlemaster's Corner, where we feature character builds created by you, the ESOTU community! In this article, you'll meet the Bloodleach Slayer, a Nightblade tank that uses the blood of its foes to bolster its own might. Once you close in on a target as the Bloodleach Slayer, you can outlast nearly any foe. The build maintains its high survivability through a combination of life-tap abilities and boosts to combat health recovery. It also dishes out decent damage via its dual-wield sword and axe pairing. If you're looking for a new tank build for your Nightblade, give the Bloodleach Slayer a try!
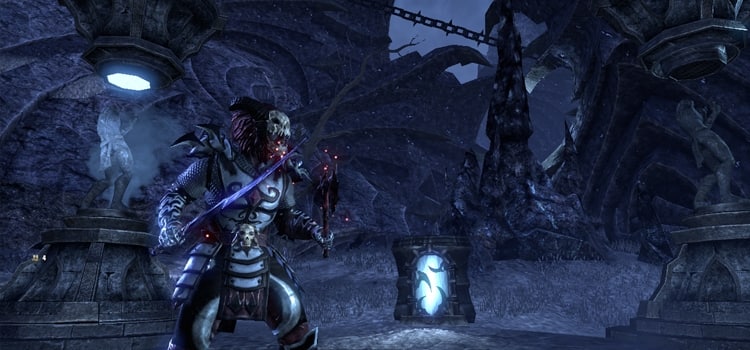
We always enjoy receiving your character builds and seeing all the creative ways you combine abilities and equipment. If you have a character build you'd like to see in a future Battlemaster's Corner, please send it to us at community@elderscrollsonline.com. Don't forget to include a handful of high-quality screenshots of your character for us to choose from!
THE BLOODLEACH SLAYER
No more running around, no more hiding...don't even waste time blocking. This cutting-edge new take on Nightblade tanking will have you standing toe-to-toe with your enemies, swinging blow-for-blow, and holding your own. Your enemies won't willingly offer up their life—rip it from them, screaming. Blood begets blood, and blood must be paid.
Using armor and spell resistance boosts combined with massive health recovery and life-tapping abilities, this Nightblade build offers moderate damage, high and sustainable survivability, and extraordinary combat health recovery.
One caveat: If you find yourself hesitant to rush into the fray or think twice and prefer to play it safe...turn back now. This build is not for you.
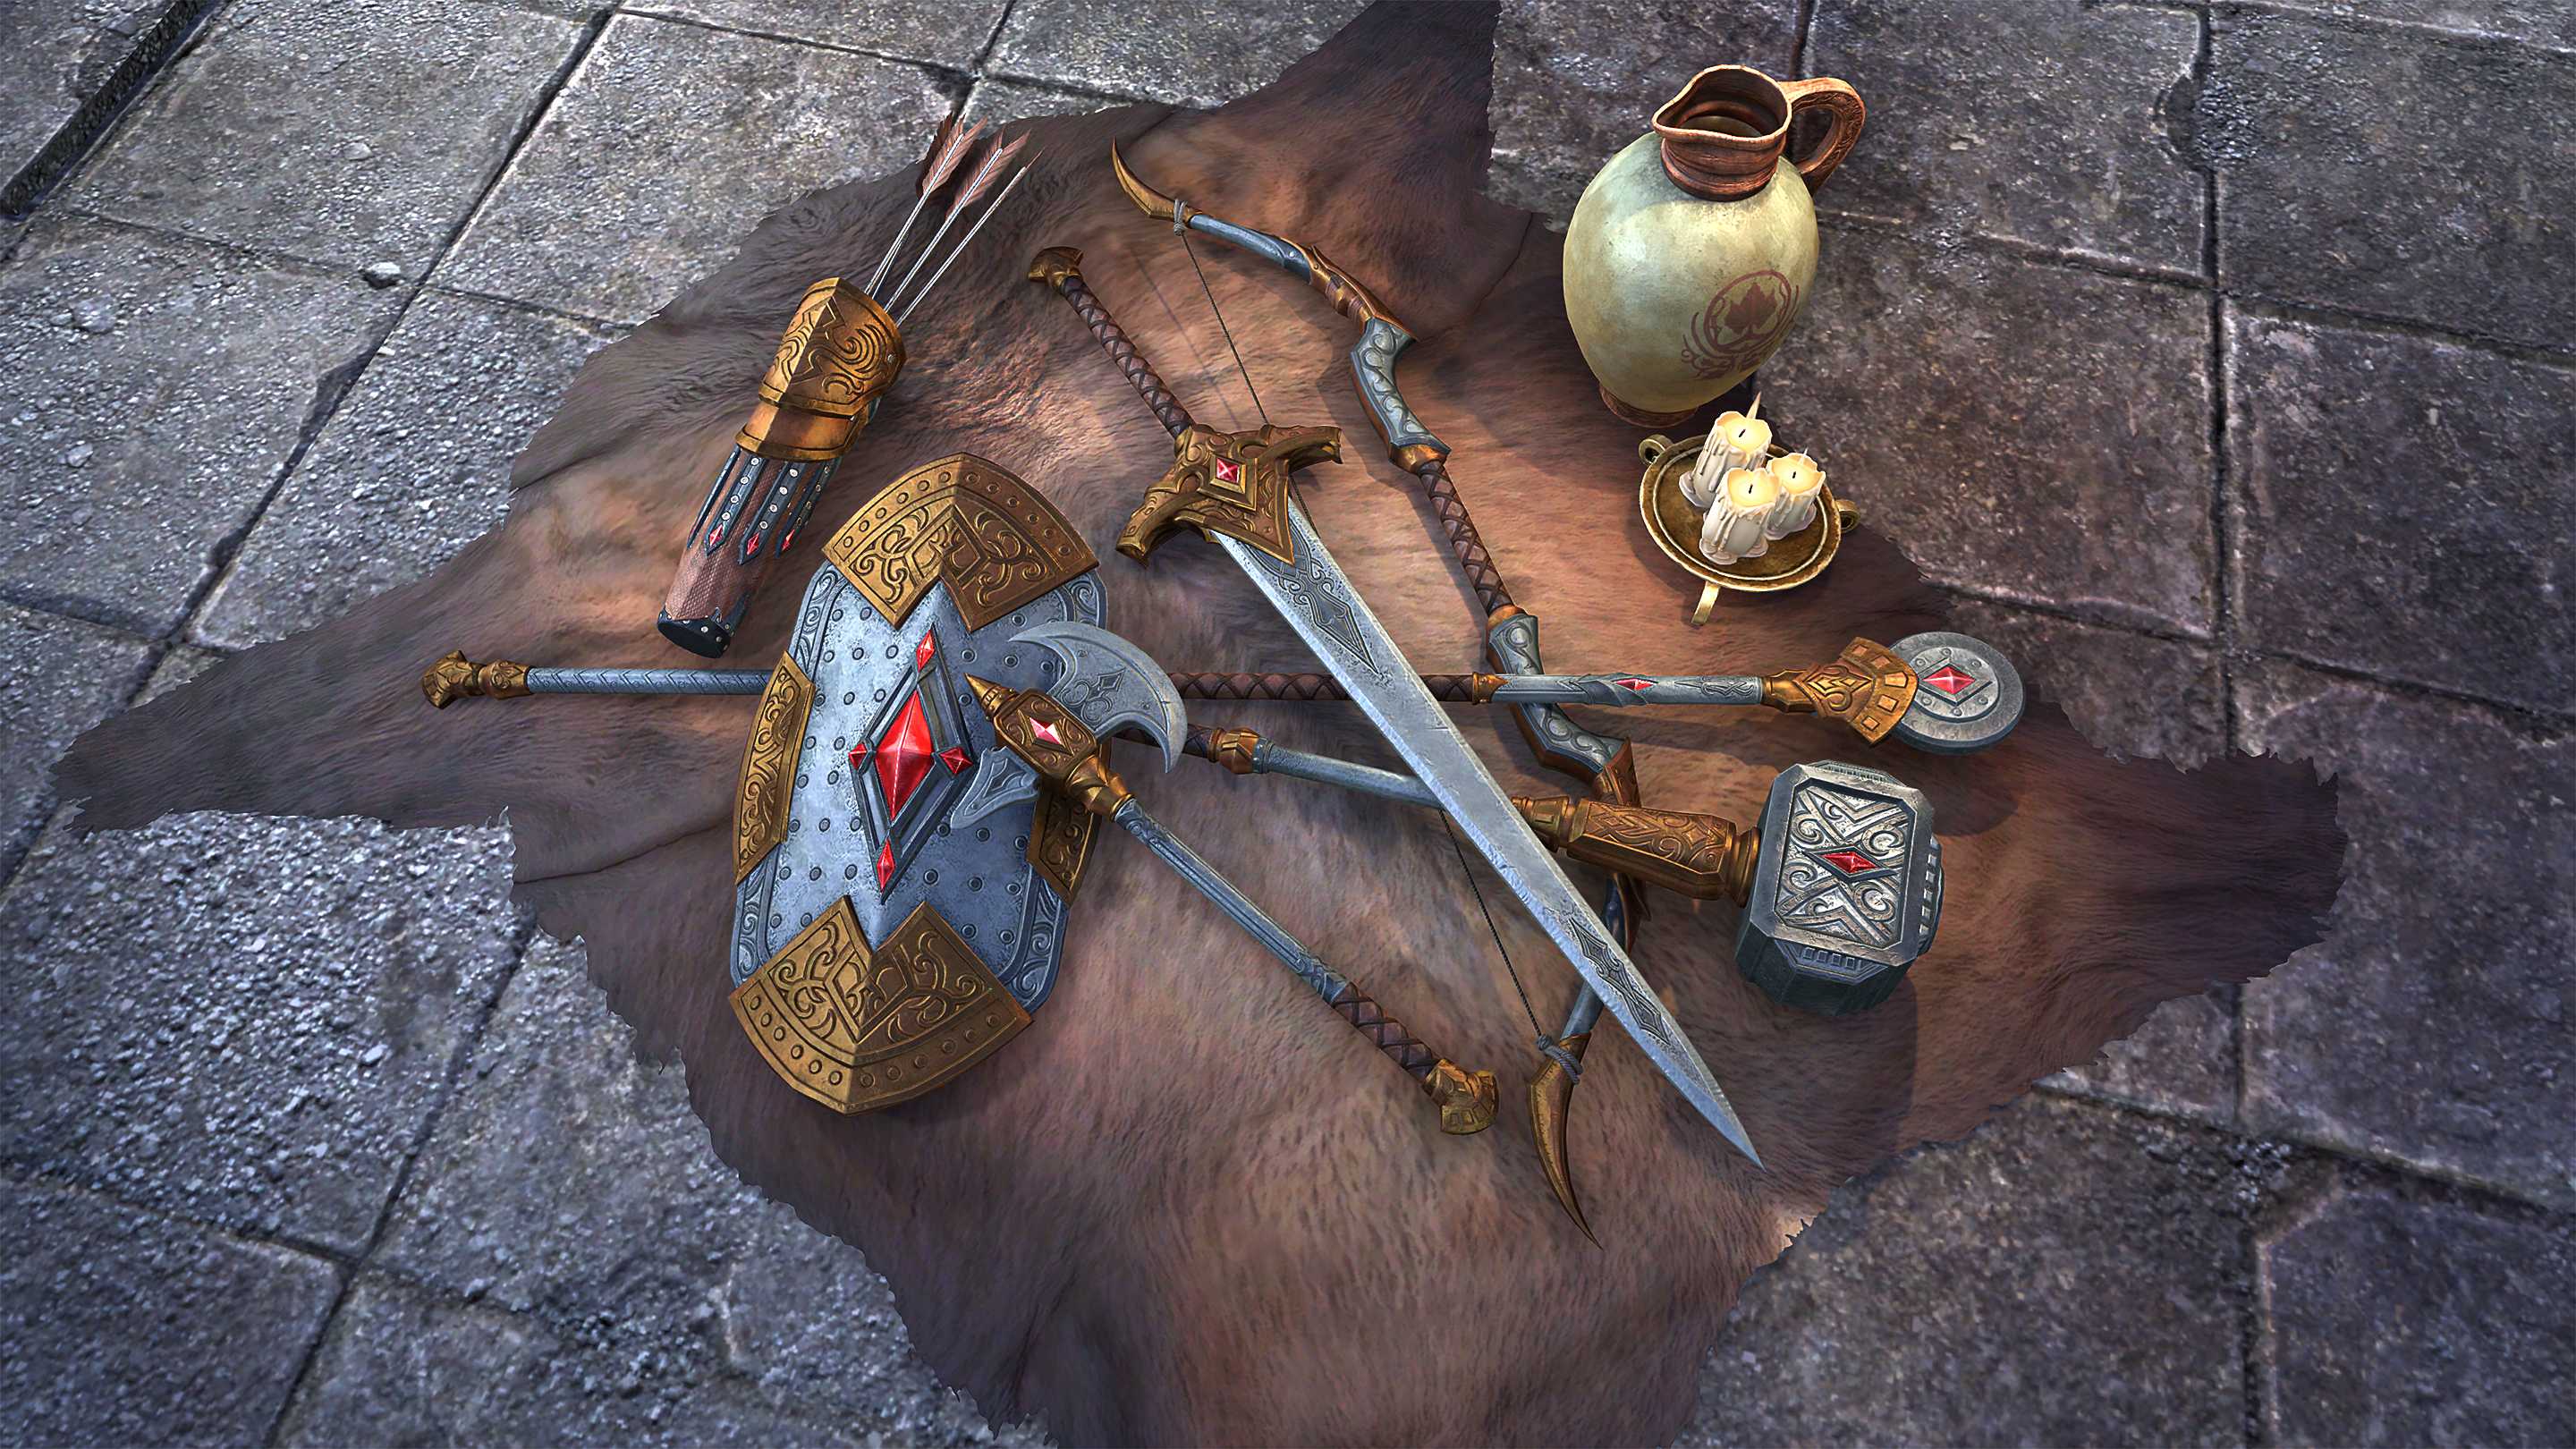
PRIMARY WEAPON: DUAL WIELD - SWORD & AXE
Strife (Swallow Soul) – This is your number one go-to ability throughout any fight. Even when mobs say they resist the ability, it still heals you.
Blur (Mirage) – This is a buff you want to have on constant rotation. Basically, get used to the timer and just recast it every time you go back to your primary bar (or every 15 seconds.) It increases your physical resistance as well as mitigating adds by knocking them off balance every so often.
Siphoning Strikes (Leeching Strikes) – This buff is a necessary, fundamental building block for the Bloodleach Slayer build. Not only will it help to keep your Health sustained, but it will also keep your Magicka and Stamina indefinitely sustained if your rotation is smart.
Twin Slashes (Blood Craze) – Not only does this attack add damage to your rotation, it's also a life-tap.
Immovable (Unstoppable) – This ability is the reason Stamina has a place in this build. Before you swap to your secondary bar, always recast this ability first. With a well-timed rotation, you will find yourself casting this ability every 5 to 8 seconds. Since you aren't focused on blocking, the immunity to knockback effects is key. This immunity only lasts for 5 seconds, though, so if you see a heavy attack coming recast Unstoppable (or sometimes, it can be strategically beneficial to block and stun the mob, immediately resuming light attacks after.) This ability also significantly boosts your physical and spell resistances. So, when fighting archers and casters that don't use knockback effects, you don't have to cast it as often, but the resistances still come in handy.
Ultimate – Death Stroke (Soul Harvest) – This ability is excellent for adding significant damage to your rotation. Plus the morph makes it available every 10 to 15 seconds. If you are in a group and don't need the extra damage, Consuming Darkness (Bolstering Darkness) is a great swap for this slot to boost your overall tanking abilities.
SECONDARY WEAPON: DUAL WIELD - SWORD & AXE
Blood Altar (Overflowing Altar) – This is an excellent health recovery boost. Although 20% may not seem like much, when coupled with the ability from the Orgnum's Scales armor set and the Orc passive skills, you'll be looking at a 100% increase in combat health recovery when under 60% Health.
Entropy (Degeneration) – This is an outstanding addition to your collection of life-taps. It also gives your light attacks even more chance to drain life while active.
Siphoning Strikes (Leeching Strikes) – You will notice this ability is on both bars. The reason for this is simple: if you have this buff on only one bar, it will deactivate when you swap bars and you'll have to recast it when you swap back. If you assign it to the same button on both bars, you'll never have to touch that button. I myself have it assigned to 3 – this is because I use my middle finger mostly for movement and it's difficult for me to stretch my index or ring finger over and accidently toggle this ability off.
Inner Fire (Inner Rage) – This is your Taunt (enough said.) However, there is one important note on the morph: this is not a Stamina-tank build, nor does this build offer amazing damage output, so there's no need to scale it off of Stamina and weapon damage. Also, your allies will benefit from the increased synergy chance.
Drain Power (Sap Essence) – Use this buff to boost weapon and spell damage on your target. I don't use this all the time, but if I happen to be on my secondary bar and have the Magicka to spare, I'll throw it on as a bonus. The main reason to use it should be for the decrease in target's weapon damage.
Ultimate – Soul Shred (Soul Tether) – This is your end-all be-all life-tap, as well as an area-of-effect (AoE) life-tap. If you want to build this one up, simply hold off from using your primary-bar Ultimate for a couple of fights. The increased Ultimate gain from Soul Harvest works toward building up this ability, too.
PRIMARY QUICKSLOT
Health Potions – This is like the emergency fund in your budget. It will save your drive-fast-and take-chances butt time and time again, giving you a safety cushion after a brutal round of critical hits. It also allows you time to get back to the swing of hacking and slashing and life-tapping you way to victory.
Also, as an added boost, use some beer (i.e. Citrus Malt or Golden Apple Ale) or drinks from the Crown Store to further boost your health recovery. Beer makes everything better, even battle.
PASSIVE SKILLS
All Assassination passives.
All Siphoning passives.
All Dual Wield passives.
All Heavy Armor passives.
Soul Magic: Soul Shatter – This one is just icing on the cake.
Fighters Guild: Slayer, Banish the Wicked, & Skilled Tracker – Since this build consistently makes use of Leeching Strikes (which lowers damage output), you want to increase your damage output however you can. In the group dungeons, you'll find fighting Daedra to be a common occurrence.
Mages Guild: Everlasting Magic & Might of the Guild – These make great boosts for when you have Degeneration slotted.
Orc: Brawny & Robust – These two racial passives are the reason I chose Orc as the number one race for this build. The added Health and 30% combat health recovery are unmatched by any other race choice. However, if you want to play around with your own version of this build, the Khajiit's critical boosts might make a nice addition to increase overall damage. If you're wanting to throw Vampire into the mix, the Dark Elf's fire resistance may help balance the build.
TIPS
Be sure to maintain light attacks between abilities. This will give you a constant life-tap throughout the fight (this is also why it's important to stay right up in your enemy's face.) Also, steady light attacks are what will give you the sustained Magicka and Stamina to make this build's rotation possible.
Remember, Health recovery abilities are like flies. One ability may not be much, and an extra 45 Health on a piece of jewelry may seem a waste by itself, but the swarm adds up quick. Combined, the different small bits slowly become something quite formidable. With this build, it is possible to achieve a combat health recovery rate of around 3K (not including the Orgnum's Scales ability.) Add constant life-tap damage-over-time (DoT) effects into the mix, and you can reach a level of near-immortality.
Note: The armor setups are to allow varying 5-piece bonuses for each ability bar. I have chosen the ones that work best with this build, but feel free to play around with your own.
BUILD DETAILS
Race: Orc
Magicka: 12
Health: 41
Stamina: 9
Mundus Stone Effect: The Serpent (Combat Health Recovery)
Jewelry: 3 Unassailable
Jewelry Enchantments: Health Recovery
Heavy Armor: 3 Orgnum's Scales / 4 Whitestrake's Retribution
(Note: This can be swapped for 3 Vampire's Kiss / 3 Whitestrake's Retribution / 1 Unassailable for a more solo-centric build.)
Armor Traits: Impenetrable
Armor Enchantments: 4 Maximum Health / 3 Maximum Magicka
Weapons: 2 Orgnum's Scales (Primary) / 2 Whitestrike's Retribution (Secondary)
(or 2 Vampire's Kiss / 2 Whitestrake's Retribution if using Vampire's Kiss armor)
Weapon Traits: Defending
Weapon Enchantments: Unresistable Damage
Warrior Champion points: Heavy Armor Focus / Spell Shield
Mage Champion points: Mighty / Blessed
Thief Champion Points: Healthy


 FREE!
FREE!